Jira
OpsPilot's Jira integration enables seamless ticket management and tracking directly through the OpsPilot interface. This integration supports both Atlassian Cloud and Data Center deployments.

Info
Single project integration per connection.
Setting up the integration
Prerequisites
- A valid Jira account with administrative access.
- For Cloud installations: Access to Atlassian Cloud administration.
- For Data Center installations: Your Jira instance URL and access token.
Installation methods
There are two ways to add the Jira integration:
Available Integrations Tab
- Navigate to the Integrations page.
- Select the Available tab.
- Locate and click on the Jira integration.
- Follow the connection dialog prompts.
Quick Add
- Click the integration Quick-add button in the top right.
- Select Jira from the available options.
- Follow the connection dialog prompts.
Connection types
-
Jira Cloud: Best for organizations using Jira through Atlassian's cloud platform.
-
Jira Data Center: Best for self-hosted Jira instances or organizations requiring complete control over their Jira deployment.
Jira Cloud installation
Jira Cloud integration requires downloading our app from the Atlassian Marketplace
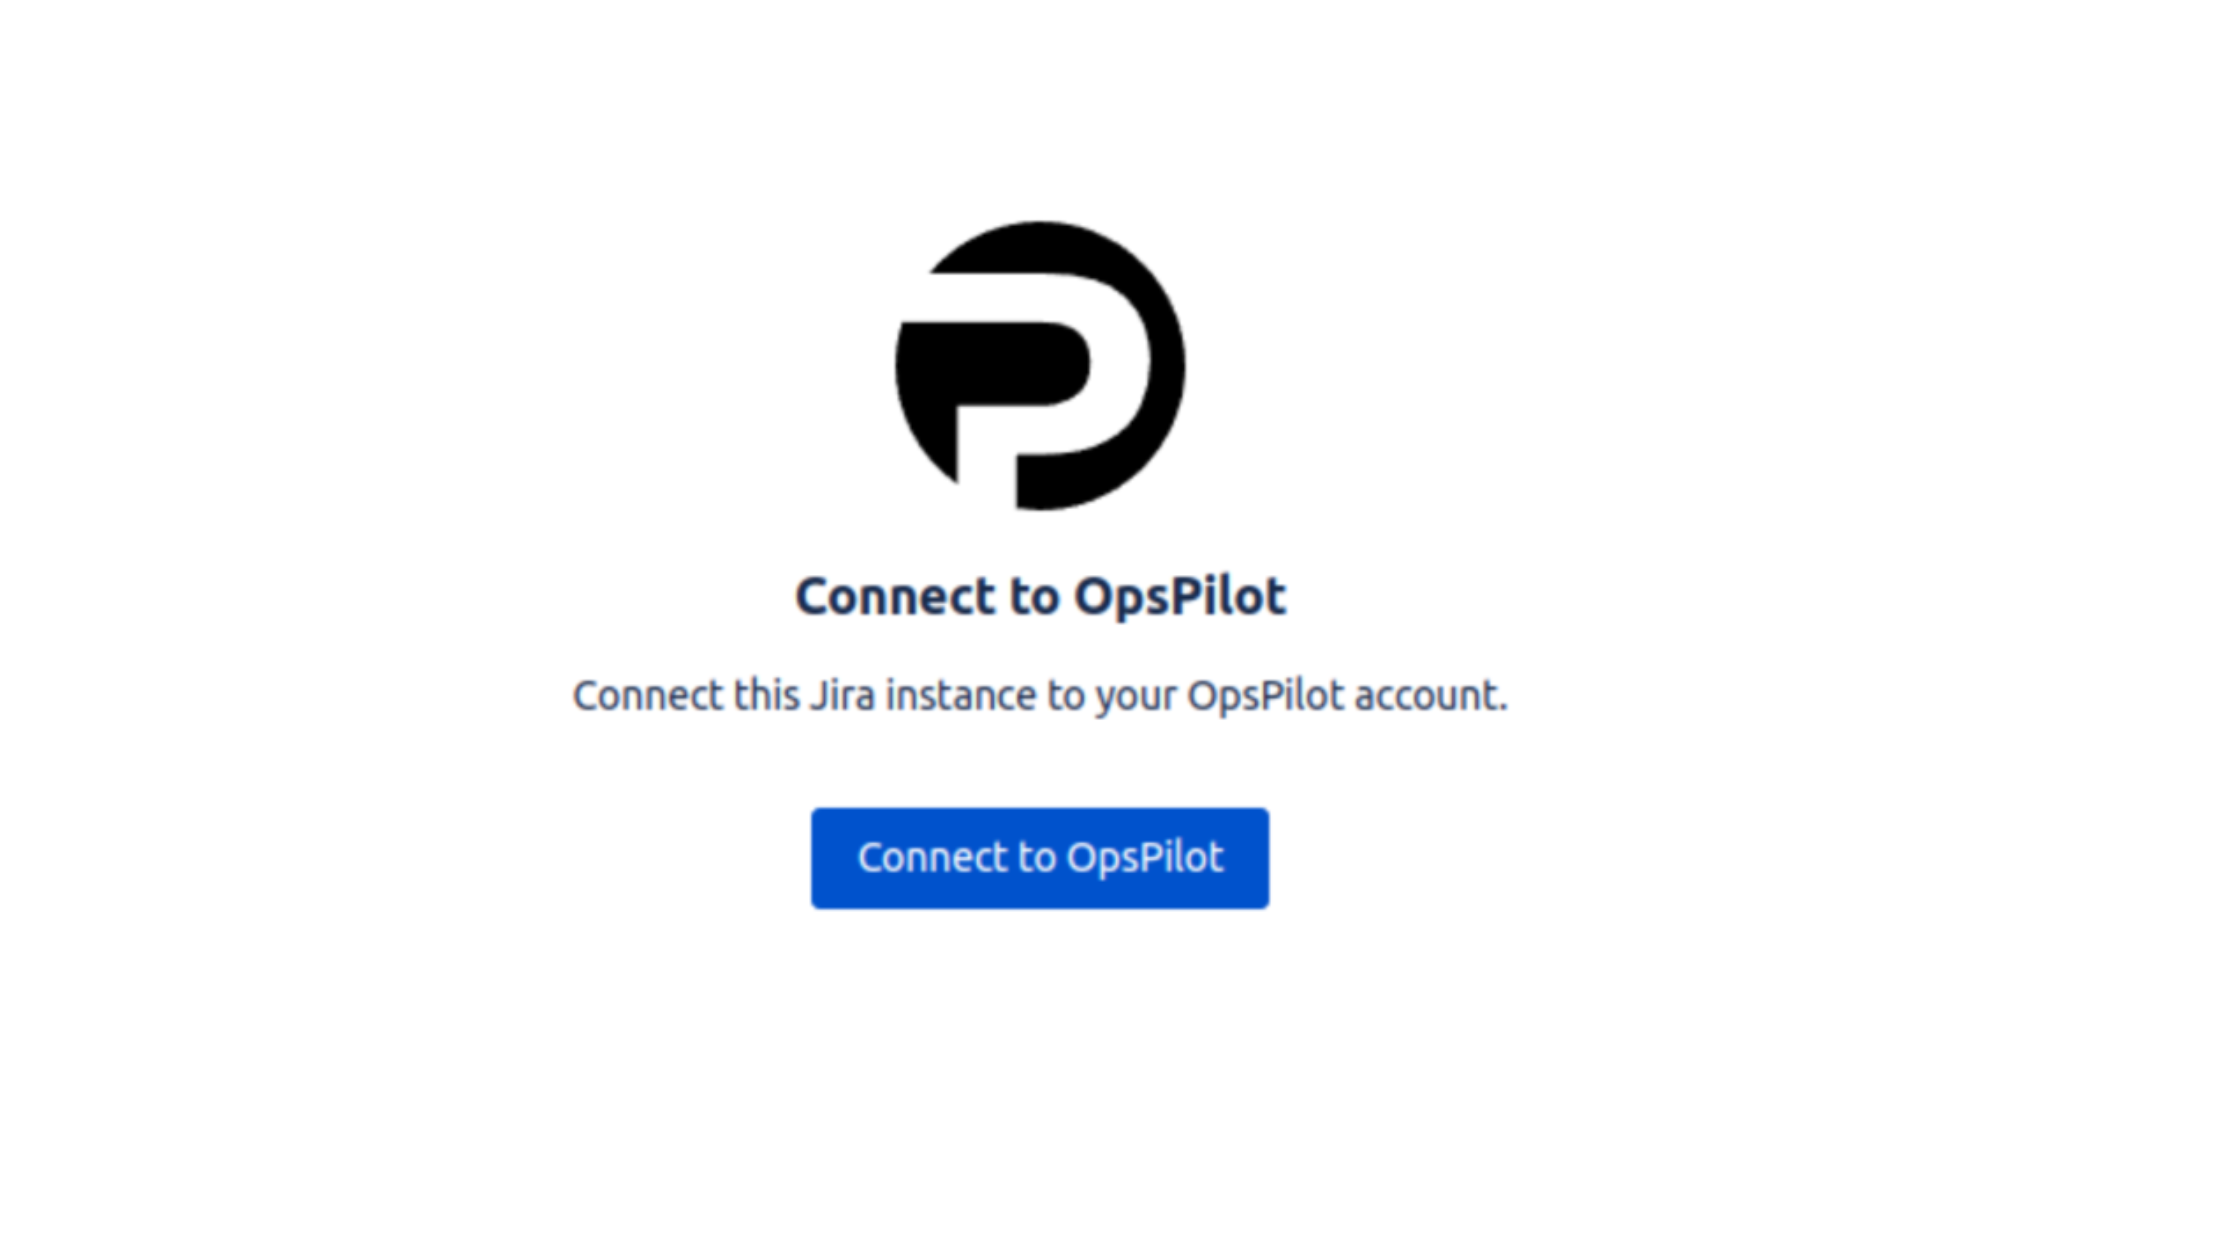
Add Jira integration:
- Click the Install button on the OpsPilot Hub page, or install from the Jira marketplace.
- If prompted, select your Jira instance.
- Review and accept the app permissions.
- Wait for the installation to complete.
- Click the Configure button on the OpsPilot Jira application.
- On the configuration page, click the Connect button and follow any further prompts.
- The following screen is displayed after once installation is complete:
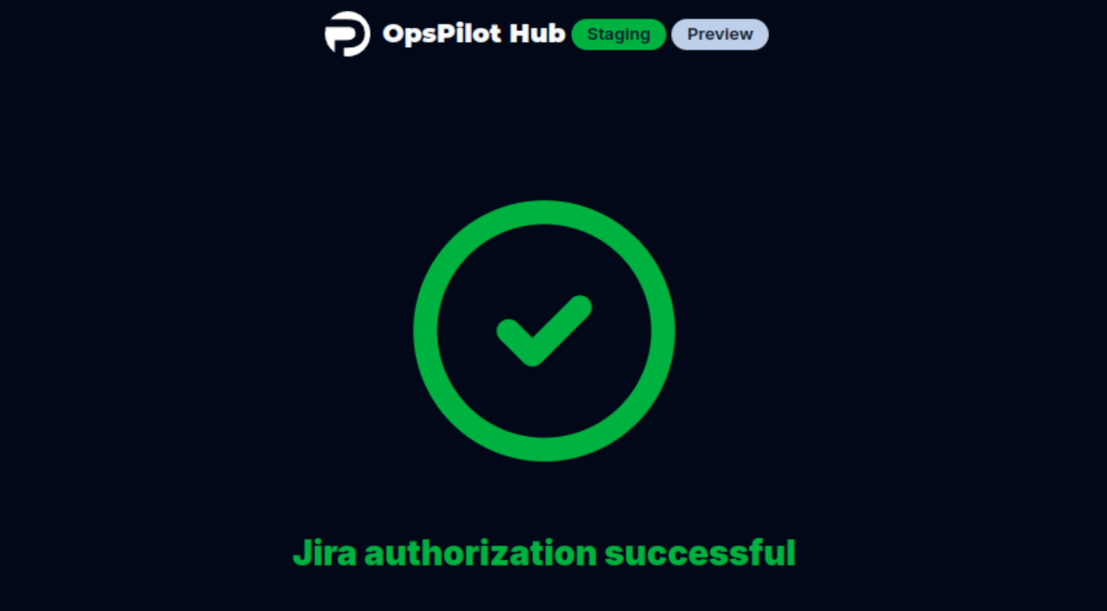
After successfully connecting the Jira integration, the configuration screen is displayed:
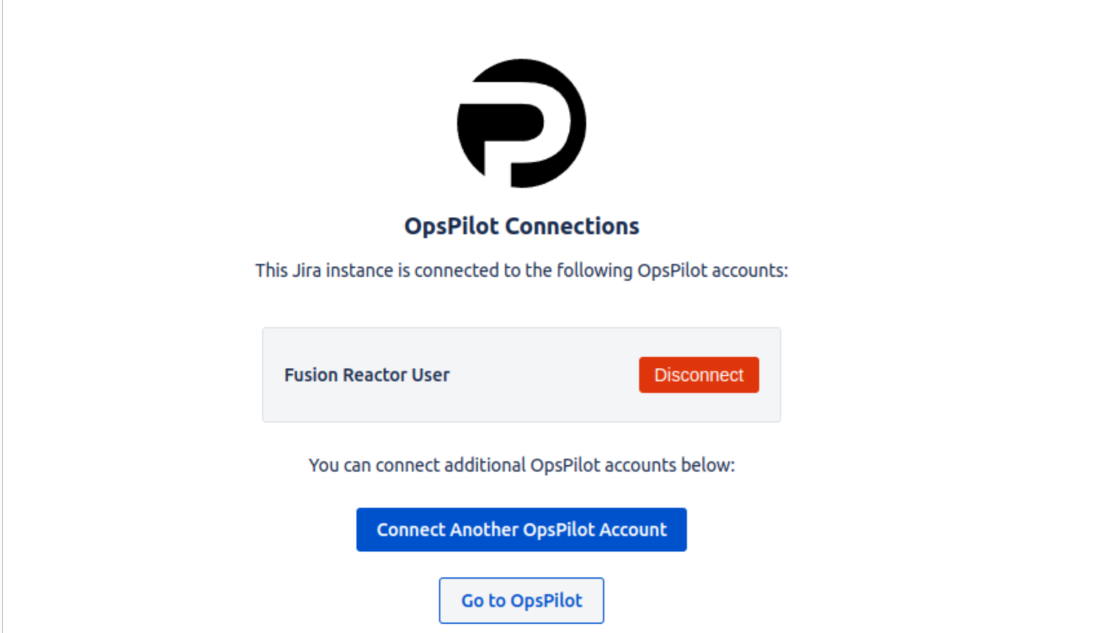
Note
An account can be disconnected at any time. Upon disconnection, OpsPilot immediately loses access to Jira features for that specific account.
Jira Data Centre installation
To integrate OpsPilot with your Jira Data Center instance, you'll need:
- A publicly accessible Jira server URL
- A Personal Access Token (PAT)

Tip
Create a dedicated Jira service account (e.g. OpsPilot) for the integration rather than using personal accounts. This ensures clear tracking of OpsPilot-generated content, maintains consistent permissions, and provides integration stability independent of staff changes.
Create an access token
- Log in to Jira as an administrator.
- Go to User Management > Users.
-
Click Create User and enter the following details:
- Username: OpsPilot
- Email: [Enter email]
Note
Enter any valid email format - this field is not validated against actual email addresses.
- Password: [Set secure password]
-
Assign admin permissions:
- Navigate to the Groups tab.
- Add OpsPilot to the jira-administrators group.
-
Create Personal Access Token:
- Log in as OpsPilot.
- Navigate to Profile > Personal Access Tokens.
- Click Create token.
- Name the token and set no expiry.
- Copy the generated token.
Info
A customer can connect the same Jira instance to multiple different FusionReactor/OpsPilot accounts.
Managing your integration
Project selection & permissions
After connecting Jira, configure your integration by selecting a project:
- Navigate to OpsPilot Hub.
- Open the Jira integration settings.
- Choose a project from the dropdown menu.
Info
All configuration changes require saving through the Update JIRA button to take effect.
The selected project can be changed at any time from the Jira integration page in OpsPilot Hub.
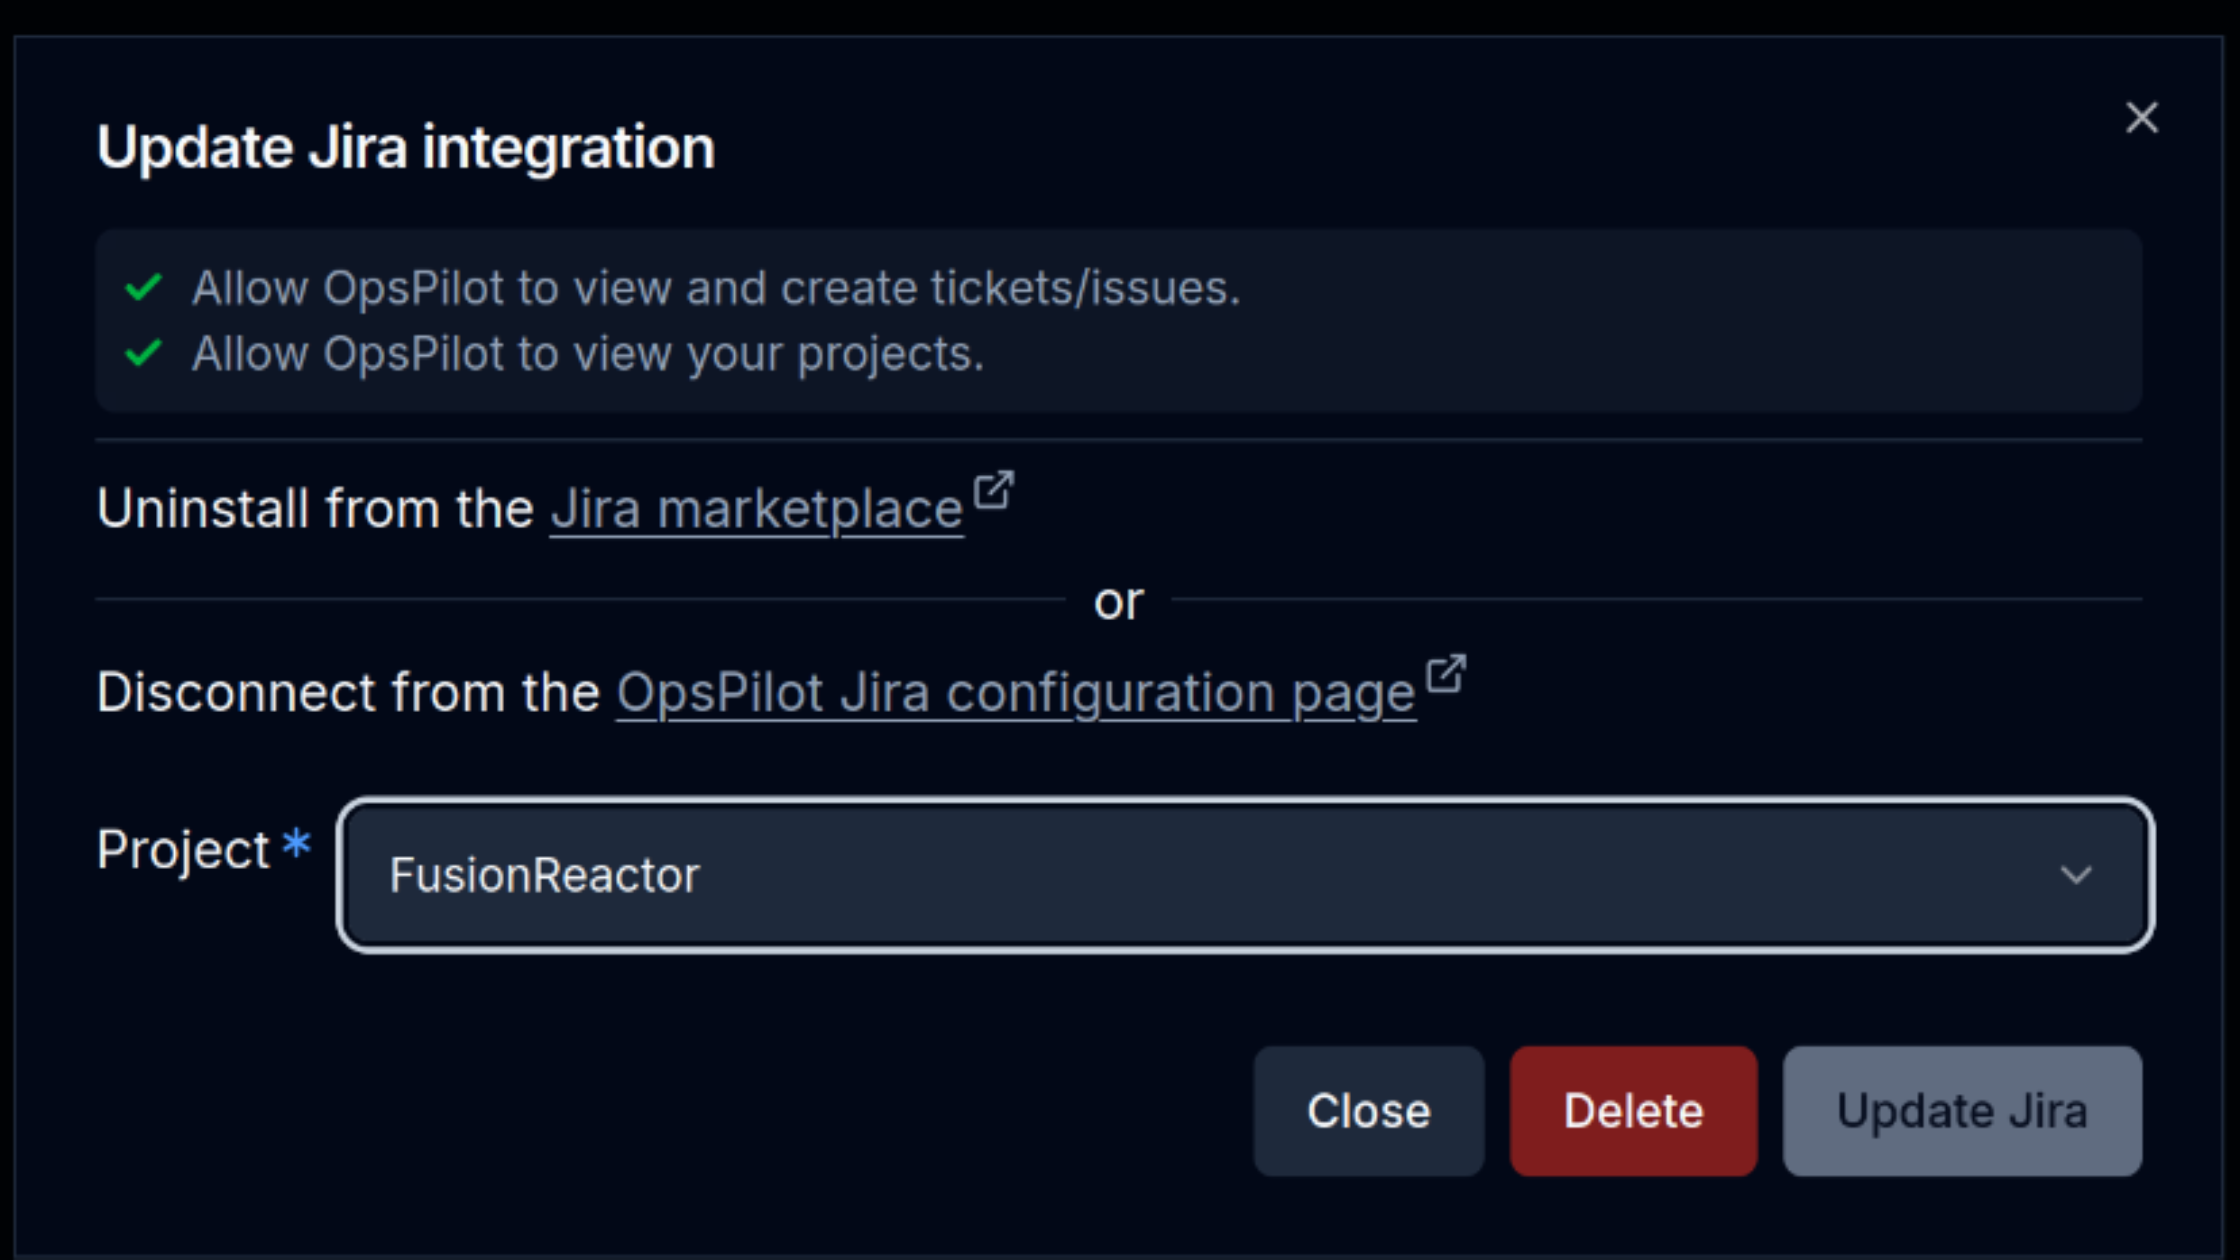
When a project is selected, OpsPilot can:
- Look up existing issues
- Create new issues
- Add comments to issues
- Search within project content
Note
A project must be selected after connecting Jira for the integration to function. Without project selection, OpsPilot cannot perform any Jira-related actions.
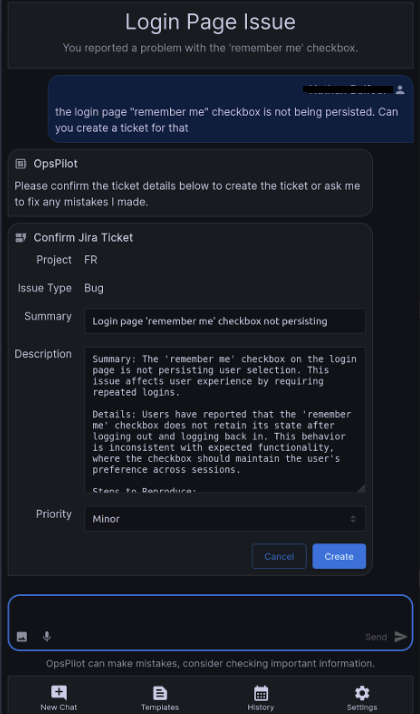
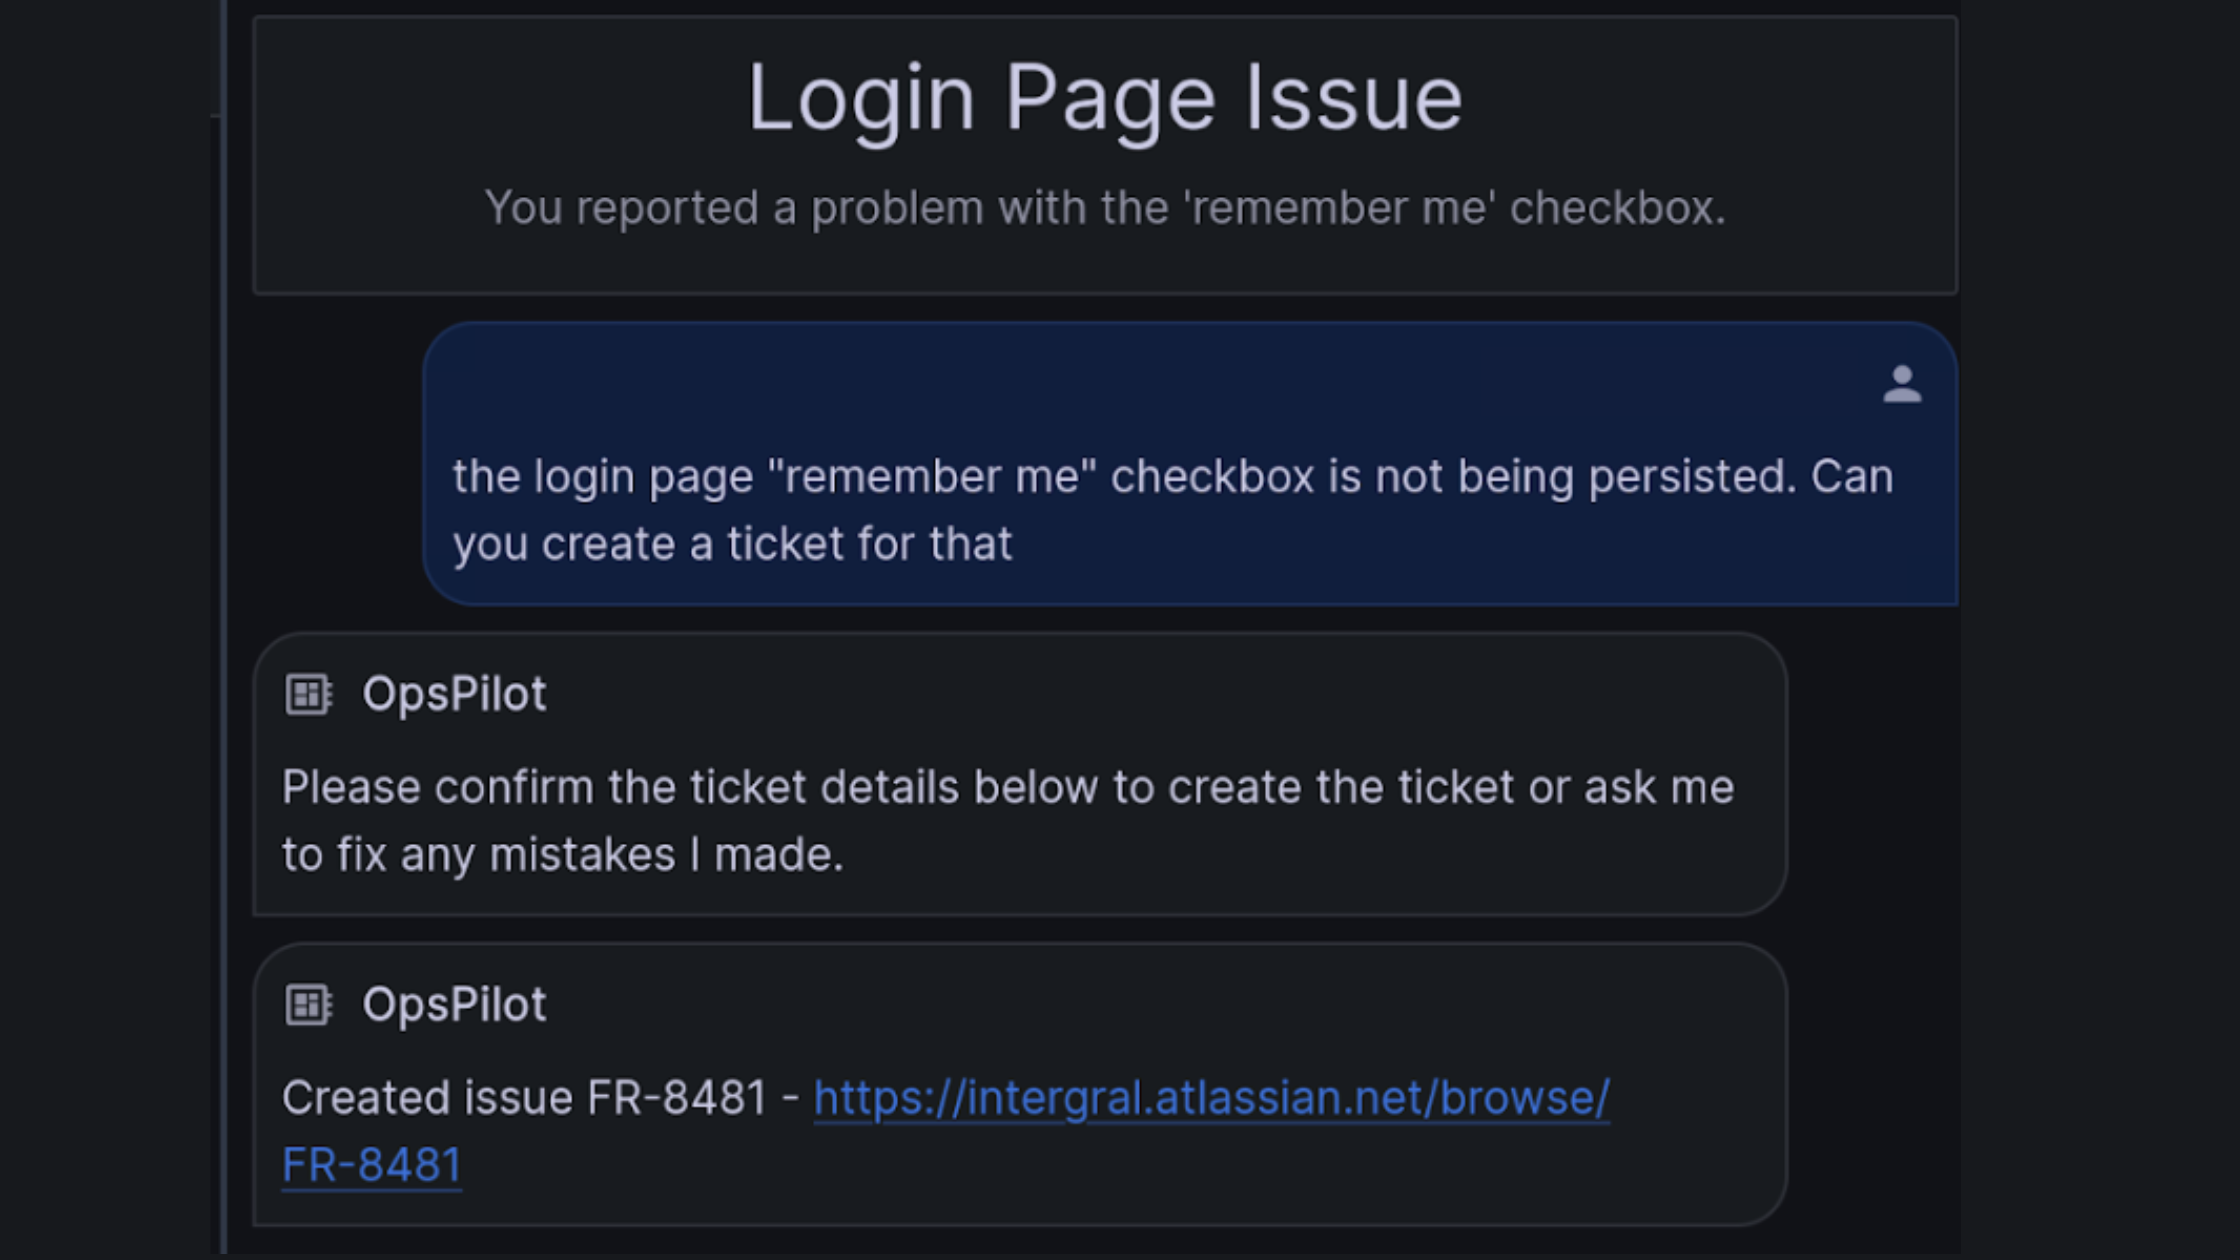
Creating tickets
- OpsPilot automatically checks for similar existing tickets.
- Preview form provides editing capabilities for:
- Title
- Description
- Priority
Supported issue types
- Tasks
- Bugs
- New features
- Epics
Info
OpsPilot can automatically determine the appropriate issue type based on ticket content if not specified.
Custom fields support
OpsPilot supports various custom fields including:
- Labels
- Fixed versions
- Custom project-specific fields
Tip
OpsPilot can be trained through your knowledge base to handle custom fields according to your organization's preferences.
Comment management
- Add comments to existing tickets
- Automatic ticket linking
- Interactive clarification for ambiguous ticket references
Search capabilities
Search tickets by:
- Creator
- Time period
- Topic relevance
- Specific ticket details
Usage example
